

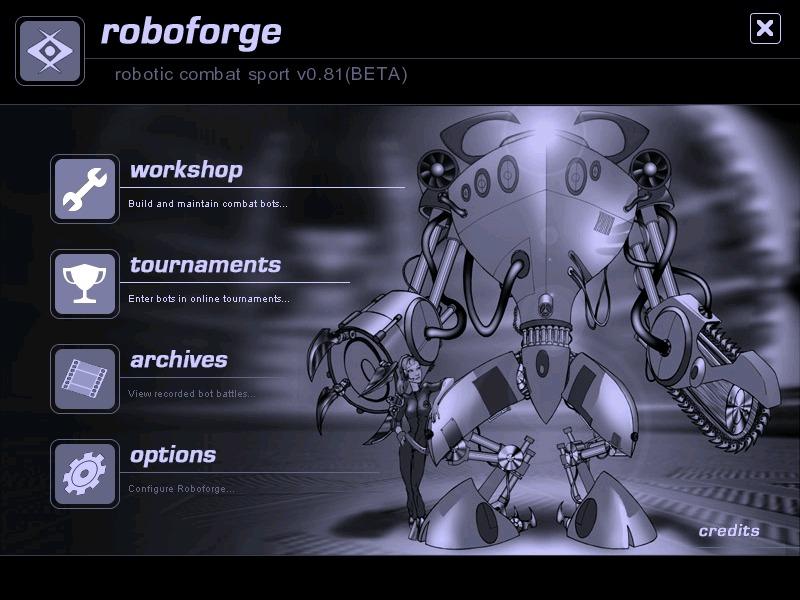
Roboforge - a thinking man's beat-em-up? (JAVA)_Part 1
Strategic Beat-em-up.
If you are around 25 or older, you may remember an old 2D robot battle game called 'Arena' or 'Robots', where the bots were represented by simple circles. These robots had two forms of weapons - a short range laser and a ranged cannon - and a simple on/off shield. The object of the game was to write a small program representing the brain of the robot and place the bot into the arena for combat. The bots in the battle would then run their programs until one or the other was destroyed, or you got fed up waiting and interrupted the fight. Roboforge has brought this idea firmly into the twenty-first century.
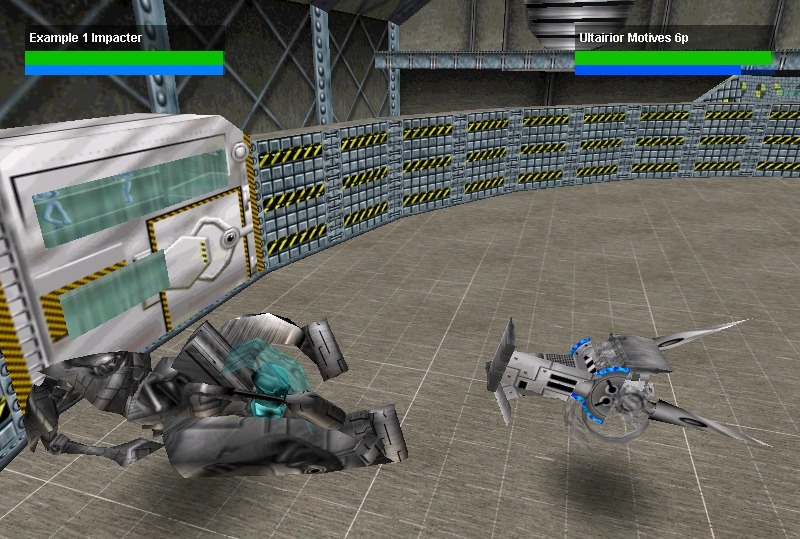
So, what is Roboforge? Well, Roboforge is a kind of strategic beat-em-up style game that is probably quite different to anything you have played before. It is strategic in the sense you need to think a bit in order to succeed and it is a beat-em-up because you're designing gigantic robotic gladiators to enter into an arena to go one-on-one against an opponent. You do not control the robot in the actual fights - your pre-programmed AI and the game engine calculations will do all the fighting and you can watch the completed battle once it has finished. Battles can be saved once completed, and are surprisingly small, depending on the complexity of the battle 120-180 second fights are roughly 1MB.
 Technical Trivia Technical TriviaThe game is written in Java and uses the Java 3D(tm) API. It runs using either DirectX or OpenGL. You will have to load the proper version of Java 3D depending on your graphics card. As with most 3D games, the faster your processor, and the more memory you have, the better. Roboforge is quite memory intensive. 64MB is about the minimum you need in order to get pleasure from the game rather than frustration caused by a thrashing disk, but 128MB+ makes the whole experience much more enjoyable. At the heart of the game is a physics simulation engine which handles the calculations for damage dished out by collisions between weapons, shields, and other components. Simply speaking, speed is the key to success...the faster the weapon is moving when it strikes your opponent, the more damage you do. Obviously though, in actuality, things are a wee bit more complicated. You can generate battles on your own, or fight online against other Roboforgers. |
Building Basic Bots
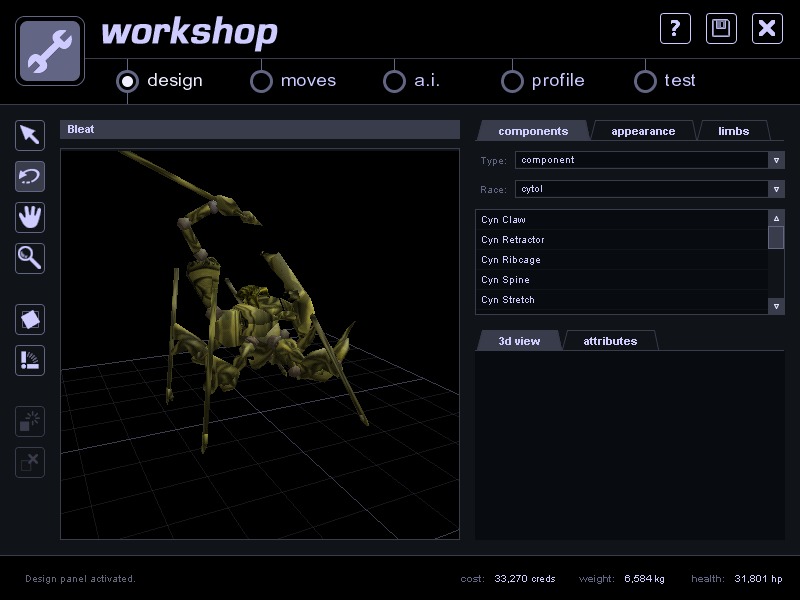
In order to enter into combat against an opponent, you must first construct your robot gladiator. There are two ways to do this. 1 - via a bot construction wizard, or 2 - through entirely manual construction. Bots created in either way are exactly the same so the wizard is definitely the way to go while you are learning the game. The end result will be a bot with a range of abilities and characteristics including flying, rolling or walking robots shaped from anything from a helicopter to a humaniod to nothing you've ever seen before.
 Wise Wizards Wise WizardsUsing the bot construction wizard, you can get a robot up and running quite quickly. The wizard first gets you to select a base chassis for the bot. Next, you step through a series of selections where you get to choose between two possibilities (generally of different cost) for items such as controller (CPU), energy source, sensors and weapons. This allows you to slightly tailor the physical characteristics of your bot. After you've decided on the physical construction of the bot, you must select elements of A.I. (Artificial Intelligence - of which more later...). The A.I. options allow you to give the bot behavioral characteristics such as whether it will move straight in front of the opponent, or dodge and weave around it. The final step in the wizard construction process is to name your bot, and after that you end up with a fully functional robot which you can use to battle against others (assuming you selected A.I. options rather than choosing 'none'). |
Manual Manufacturing
The second construction method involves you building up your bot, component by component starting with a completely bare chassis. You get to explicitly choose each component (from a library of well over 200) for your bot. These components are added by a simple 3D drag and drop interface. Each component has a number of connect points which can be used to connect it (surprisingly enough) to other components or the chassis. You also have the option of selecting different textures and colour schemes for each individual component.
Moves of Mayhem
Once you have constructed your bot, with a controller, an energy source, sensors, shields and weapons, you are ready to make it move. There are two types of movement: Chassis moves, which move your entire robot, and plain Moves which you can use to move parts of your bot around, but more importantly, you use to make your robot carry out attack strikes.
You choreograph the robot's moves within the Move panel of the workshop. This is done by means of snapshots, which is just like key-framing in animation. You take a snapshot of a key position which you require the joints (and thus weapon) to be and the game works out what action must occur in order to produce the desired configuration.
 Zany Zones
The addition of Zones also takes places from within the Moves panel. You use zones to gain more detailed information about your surroundings, in particular, information regarding the presence of some part of the opponent within a particular cubic volume of space. The zones are volumes of interest, which, as long as they lie within the field of view of a sensor, can provide you with information like whether or not the enemy's controller lies inside.
Yang Sering Dibaca:
-
If you are looking forward to try javaFX and you are a Linux user, probably you already know that the released versions are for Windows and ...
-
Anda pengguna aktif Facebook? Ada kabar baru datang dari website jejaring sosial yang sedang banyak digandrungi oleh pengguna internet dunia...


0 comments: